Tater mount suppressor mount and brake .....

wquiles

Well-Known Member
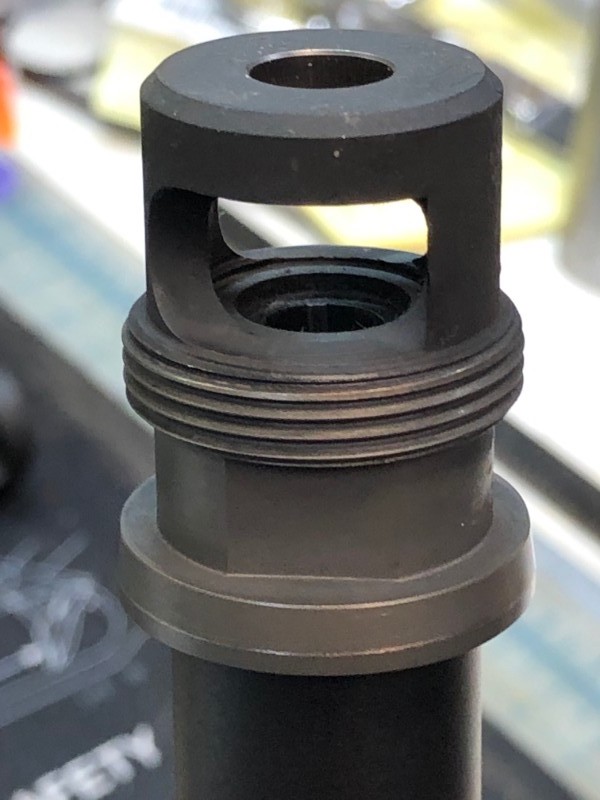
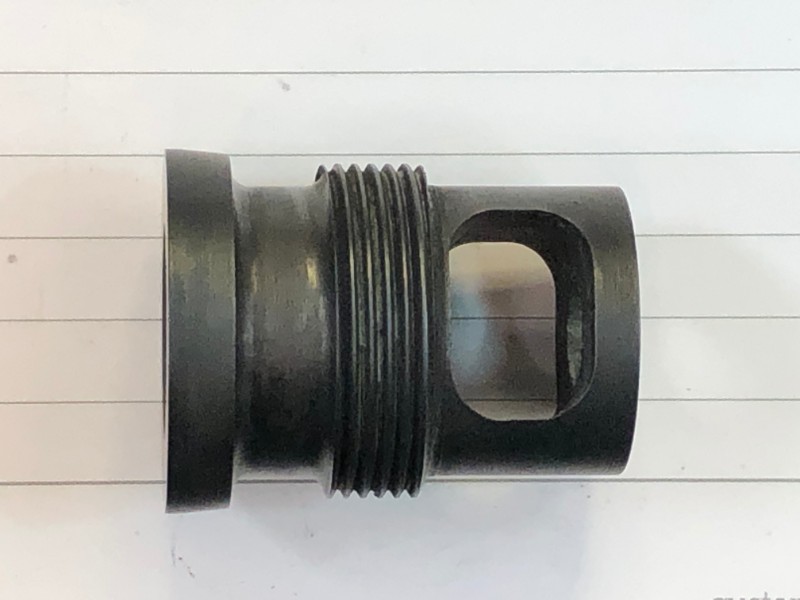
I bought one on purpose so that I had a "sample". The one that I have on my 308 rifle is the Titanium model which unfortunately is a little over $100. The steel one is like $85:
Griffin Minimalist Brake

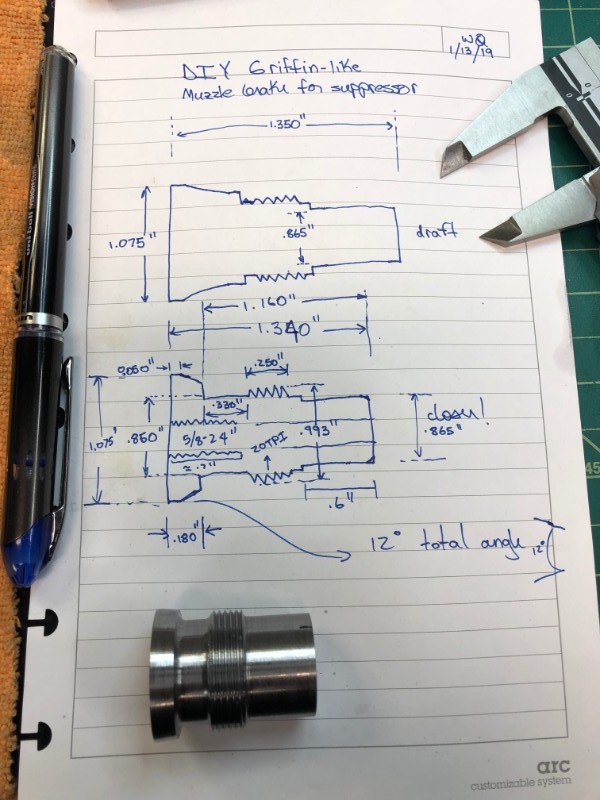
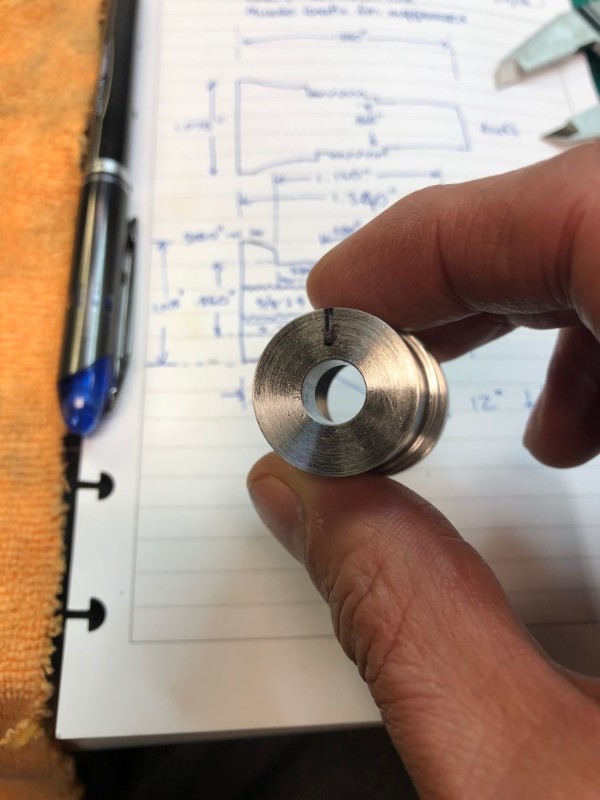
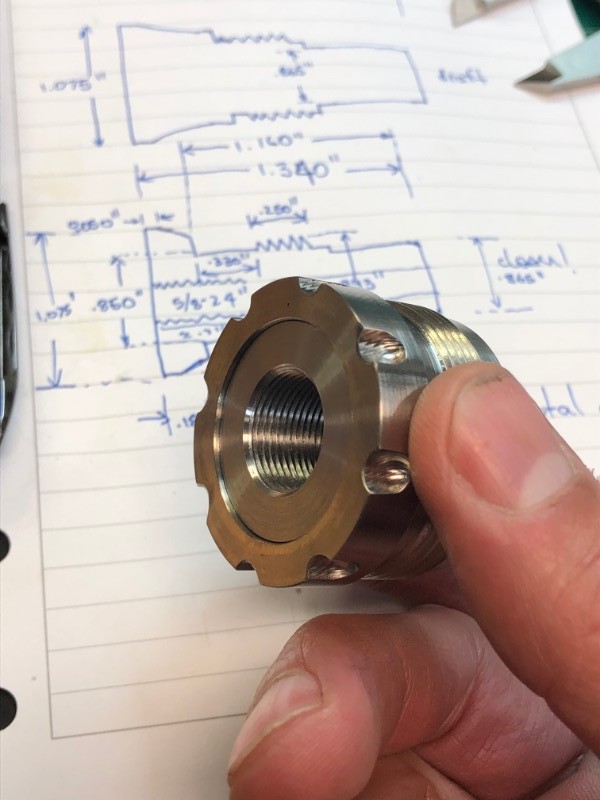
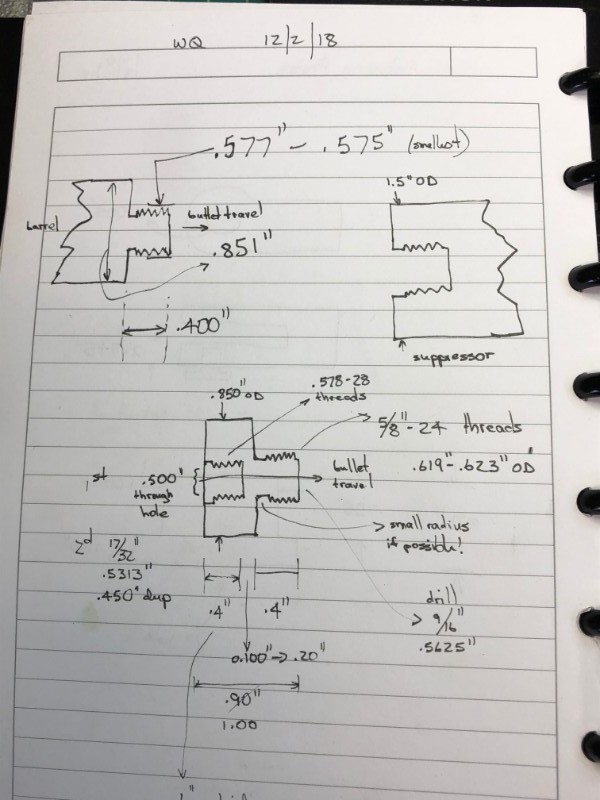
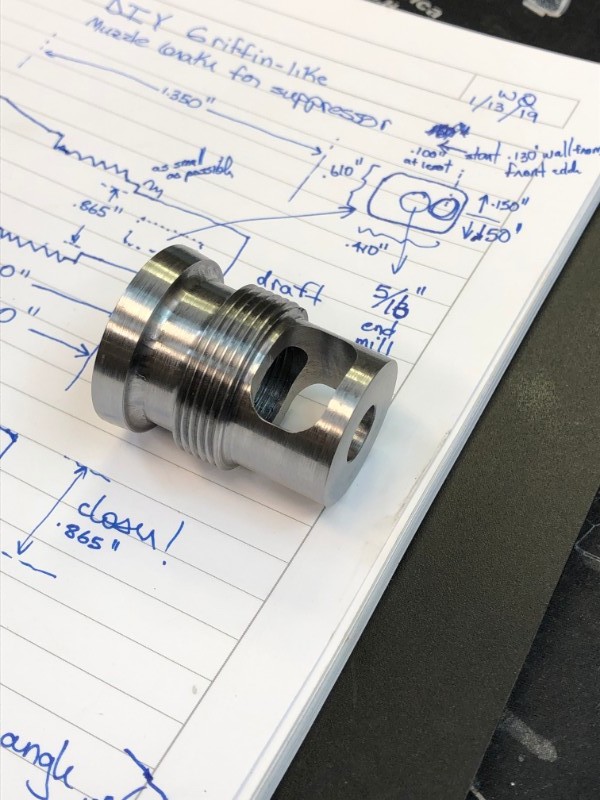
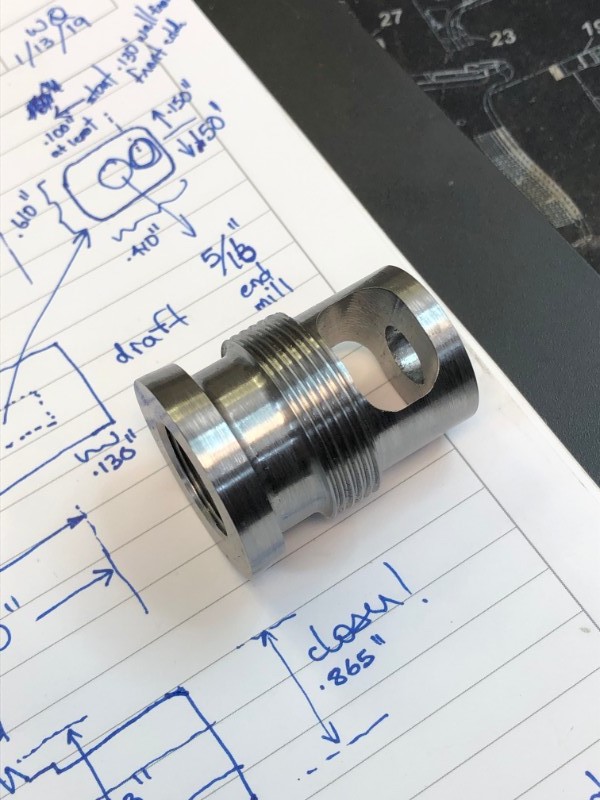
But I got two more suppressors to built, and I really like this brake/taper mount, so I didn't want to buy two more (rather use that money for suppressor parts!), and after scouring the Internet, I found a taper mount with actual dimensions!:
IMAG0019.jpg


So I decided to try making one :)

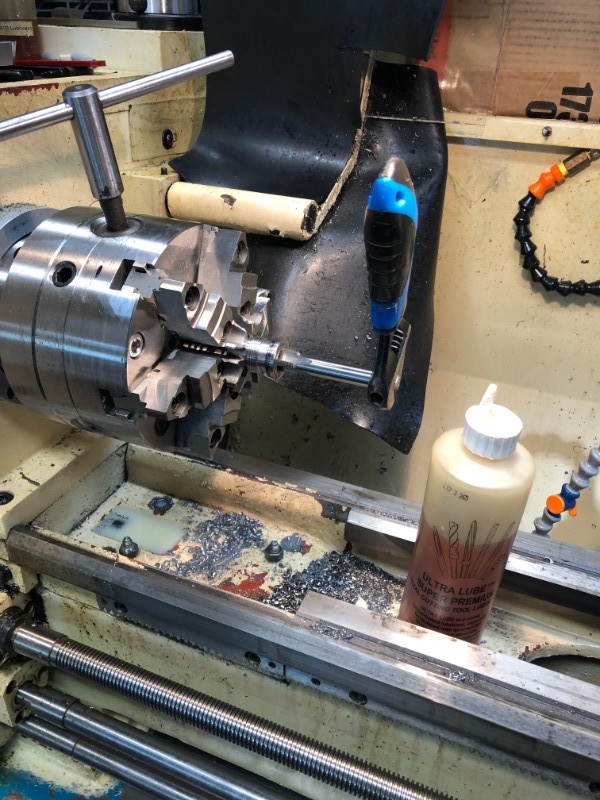
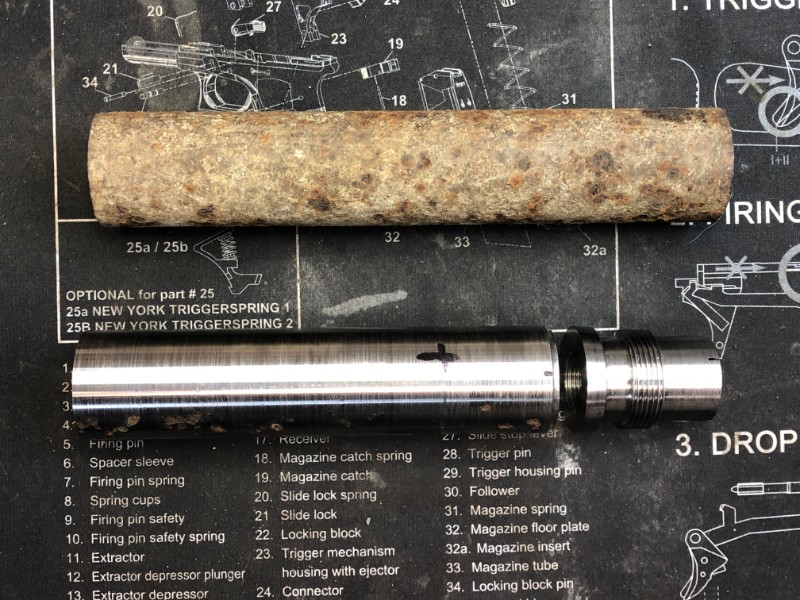
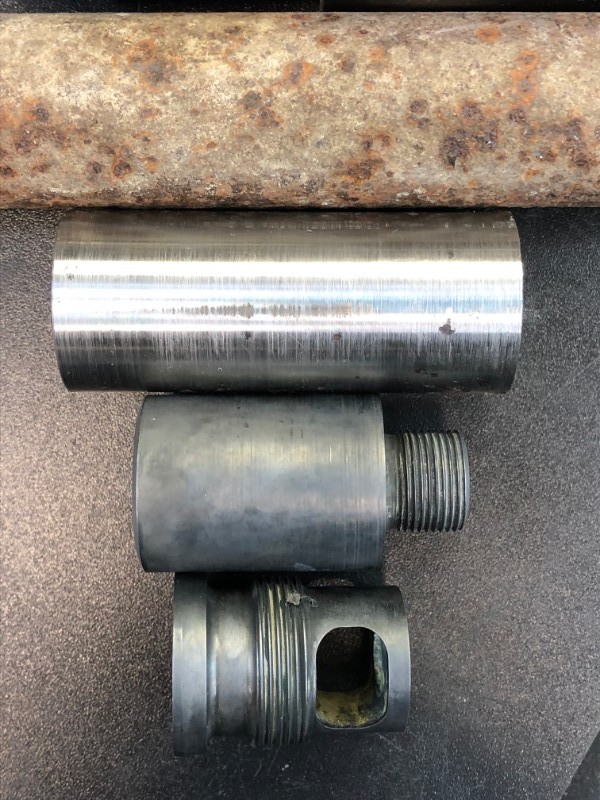
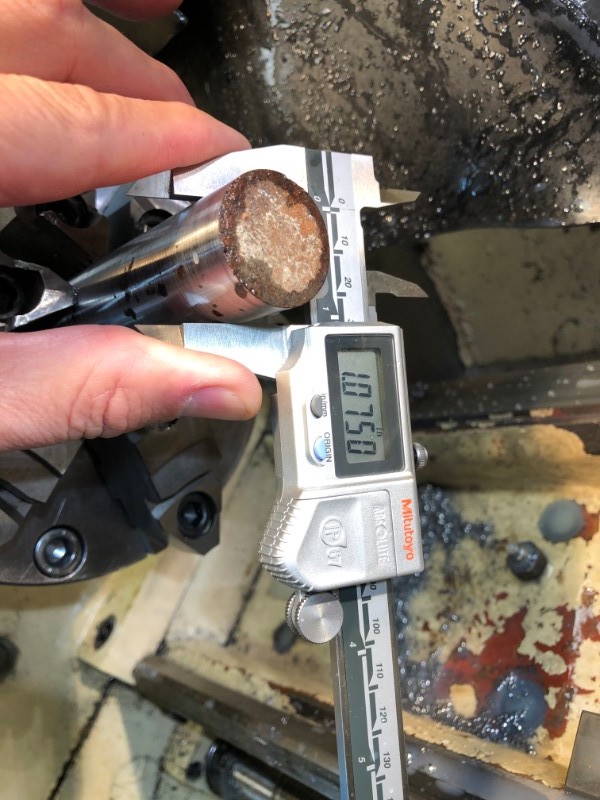
A couple of years ago, while walking to a 4th of July event, I spotted a severely rusted piece of steel, so I of course picked it up and took it home. It sat on my metal pile for years, but today, I decided it might be a good source material as it is very dense and heavy:
IMAG0018.jpg


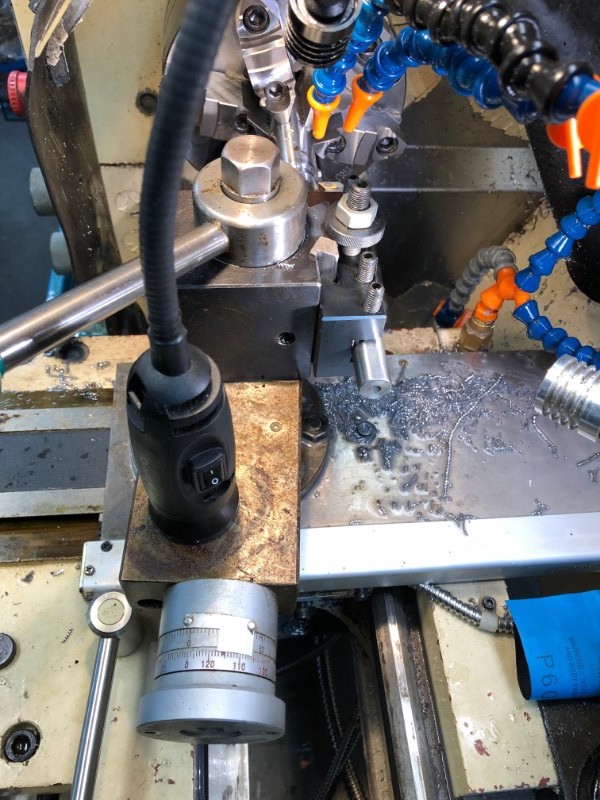
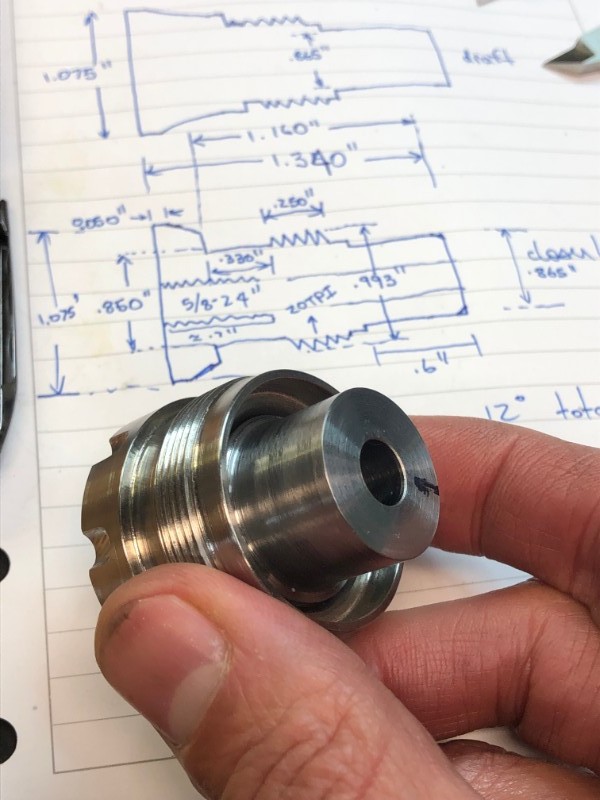
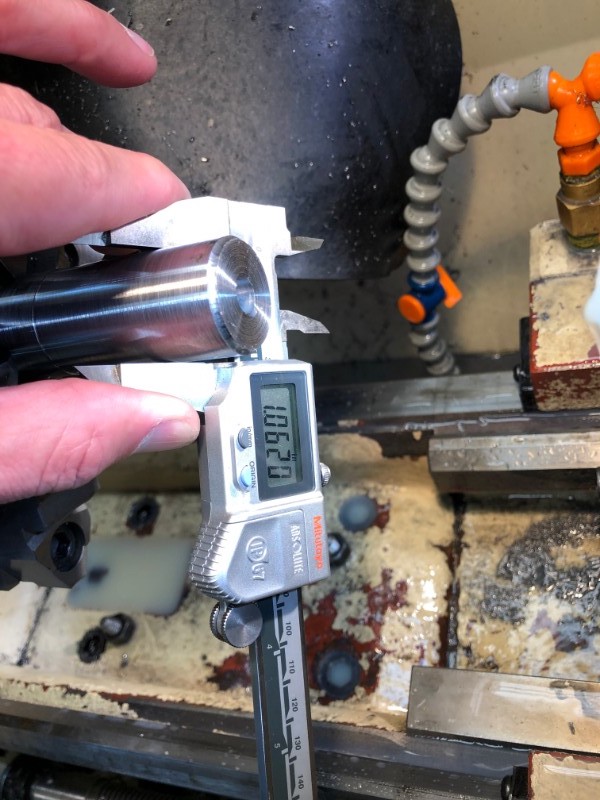
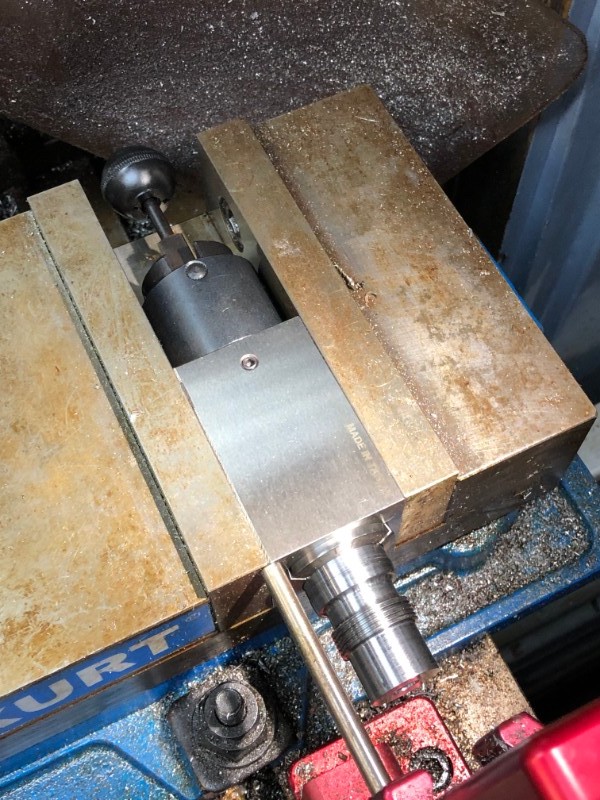
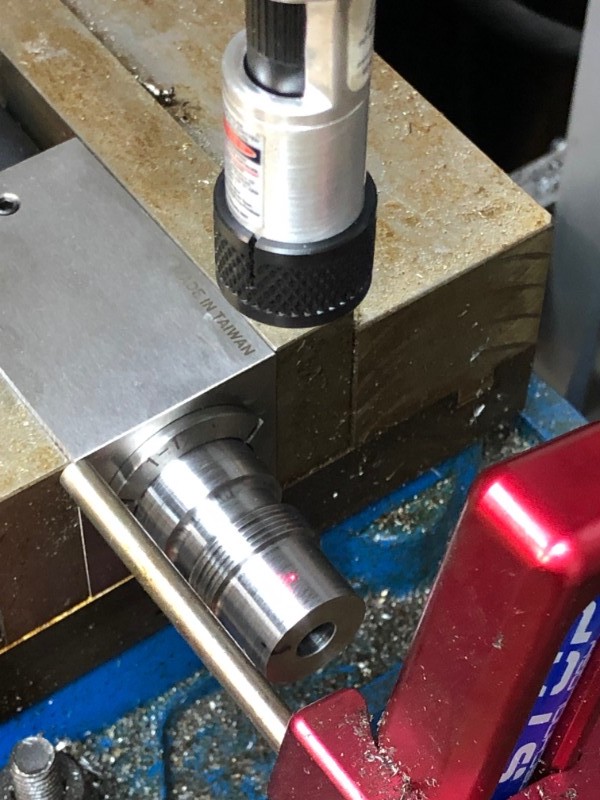
The rust was so freaking deep, that I kept taking light cuts for 1/2 its length, turn it around, do over, and over, until I got to the target OD of 1.075":
IMAG0020.jpg

IMAG0022.jpg

IMAG0024.jpg


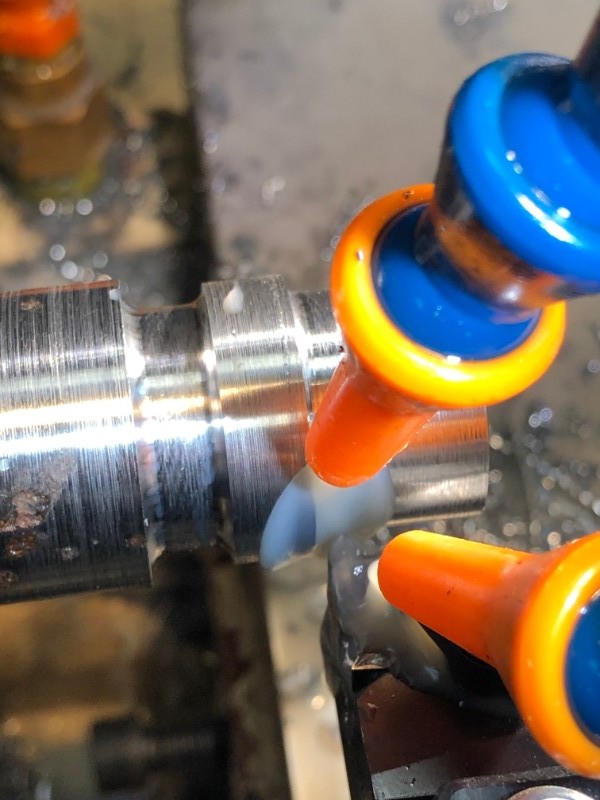
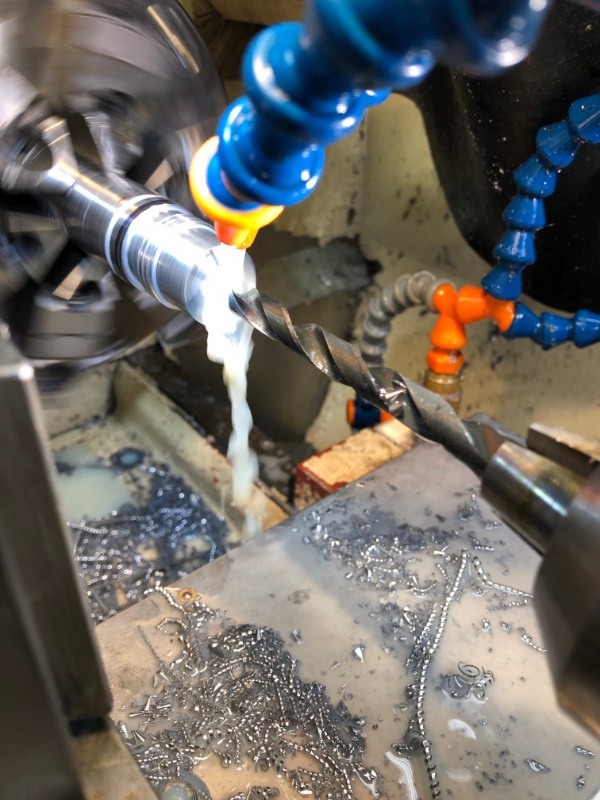
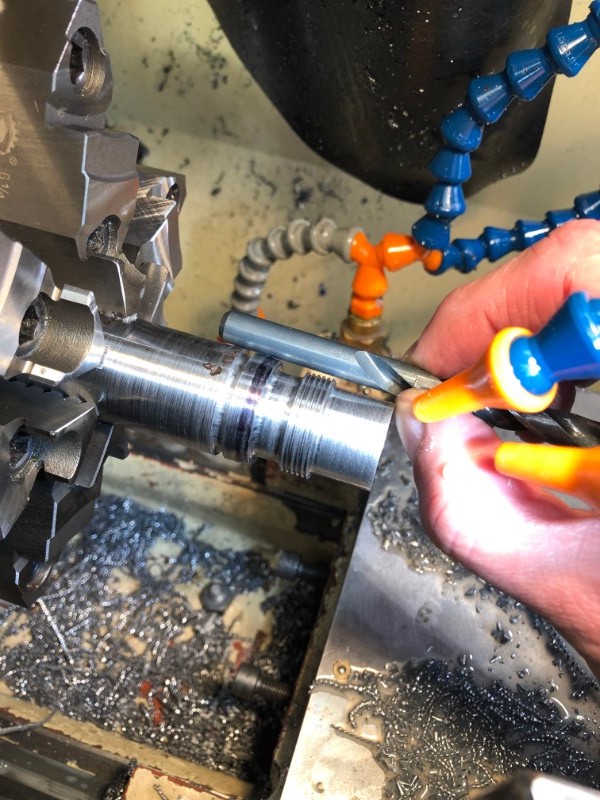
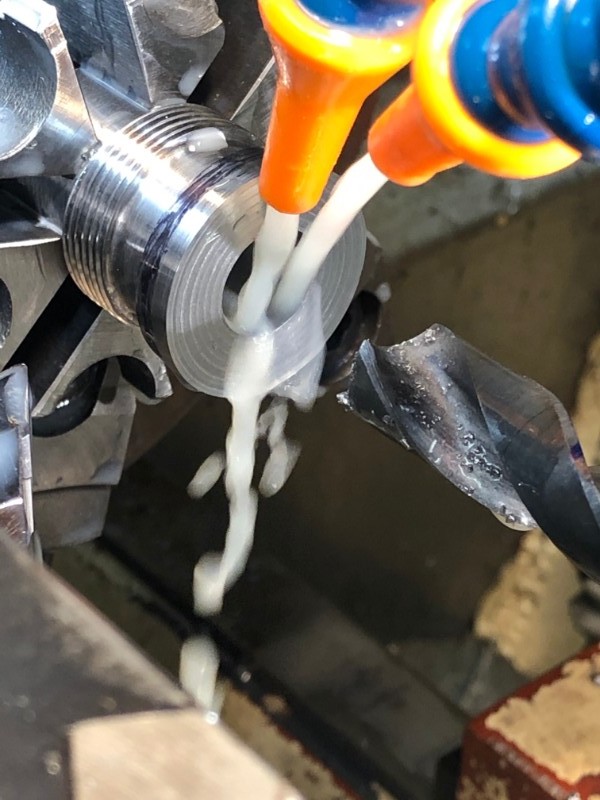
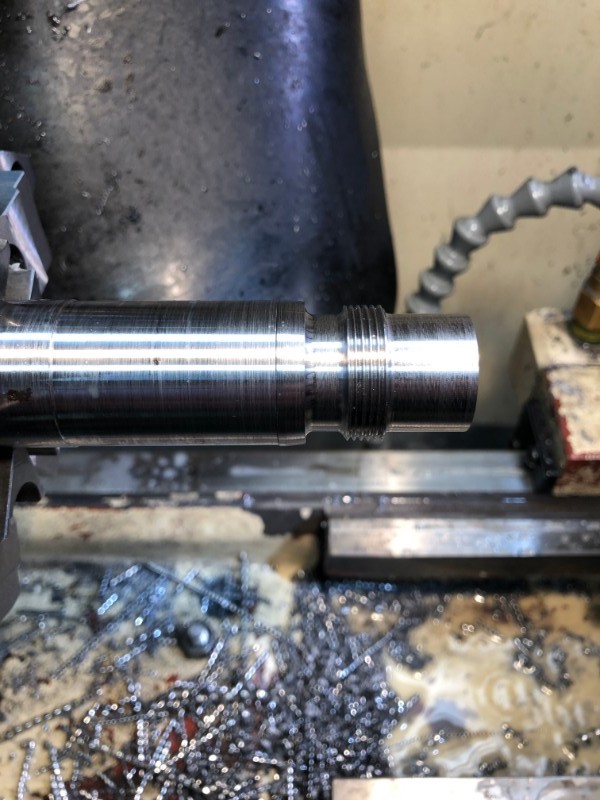
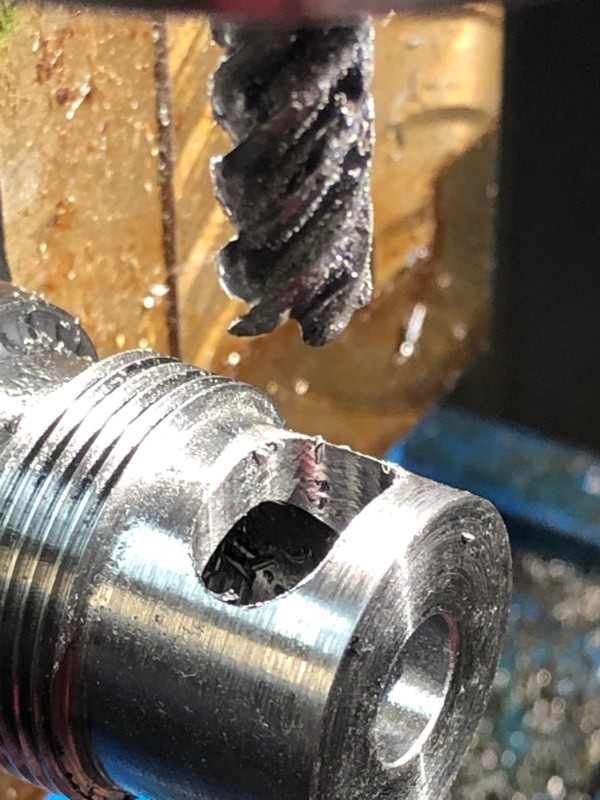
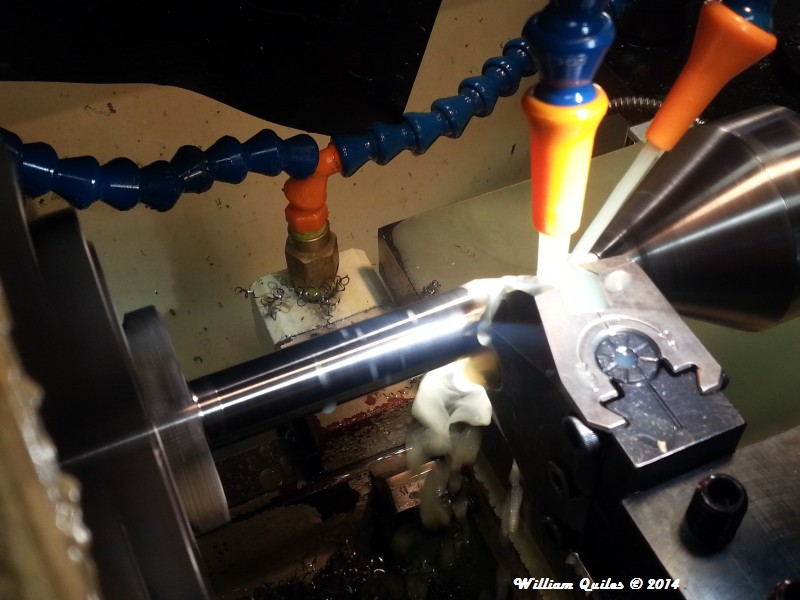
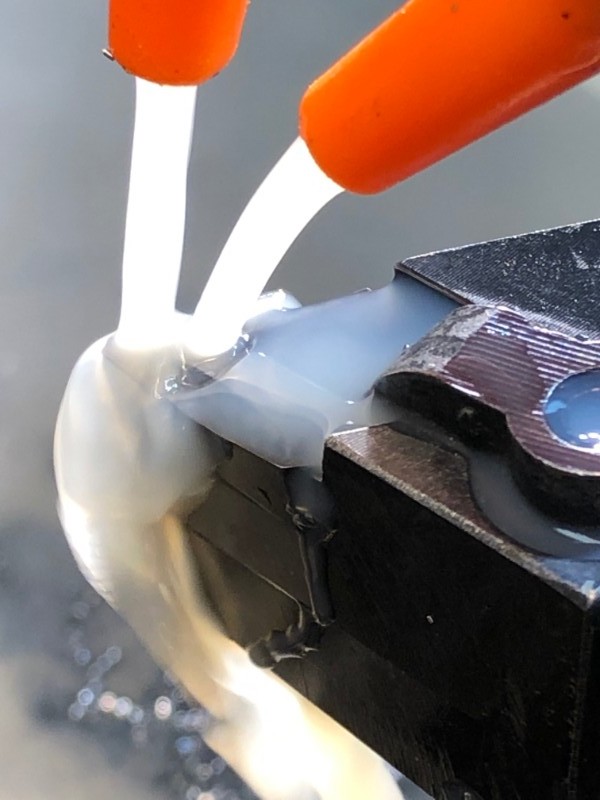
It was of course an interrupted cut, so go slow and have lots of lubrication:
IMAG0025.jpg


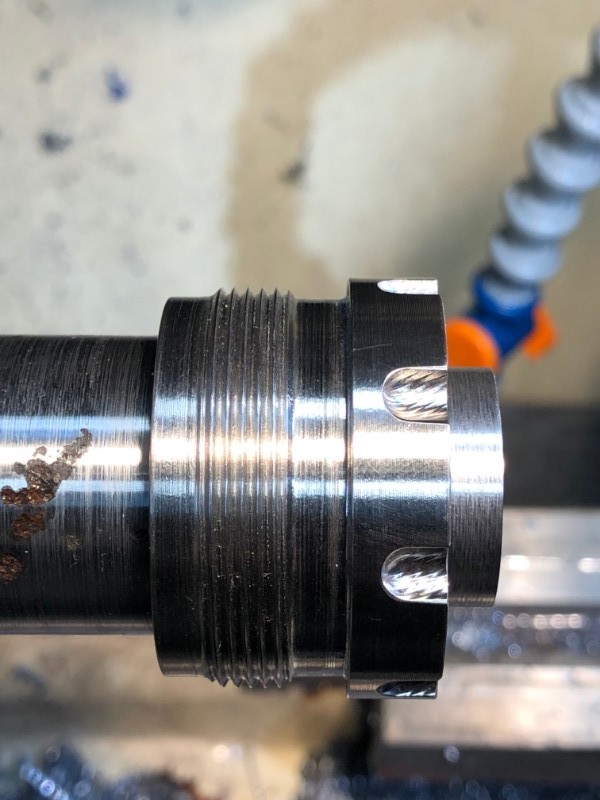
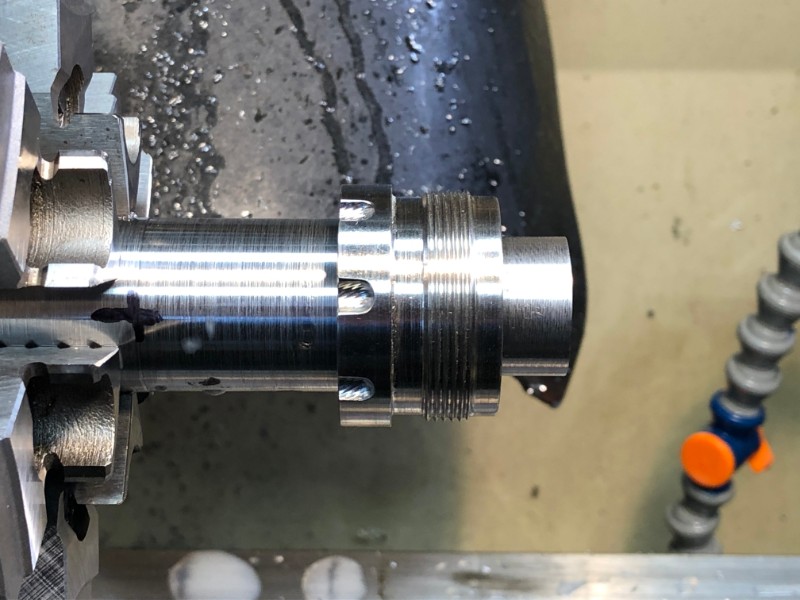
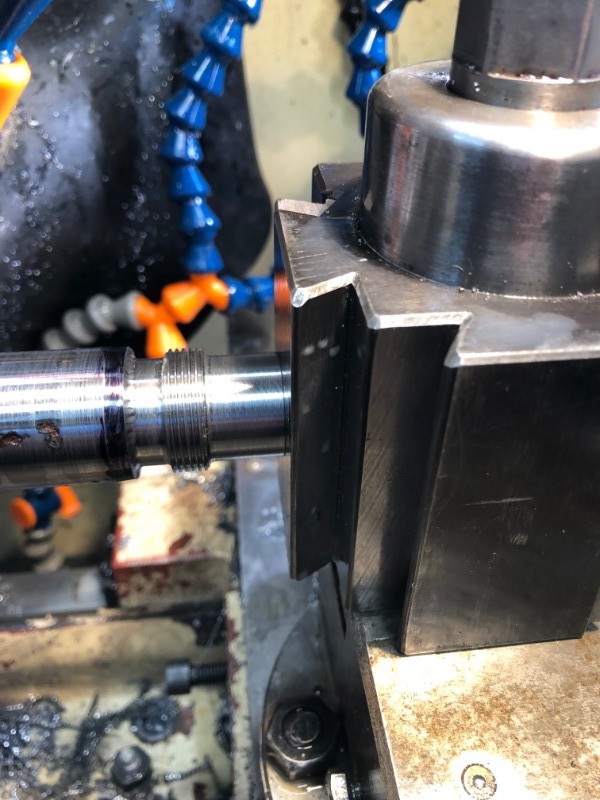
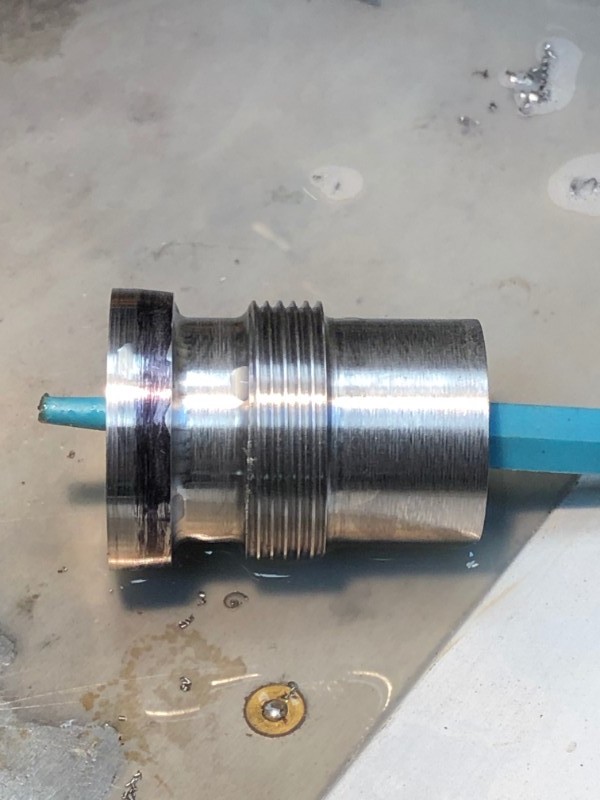
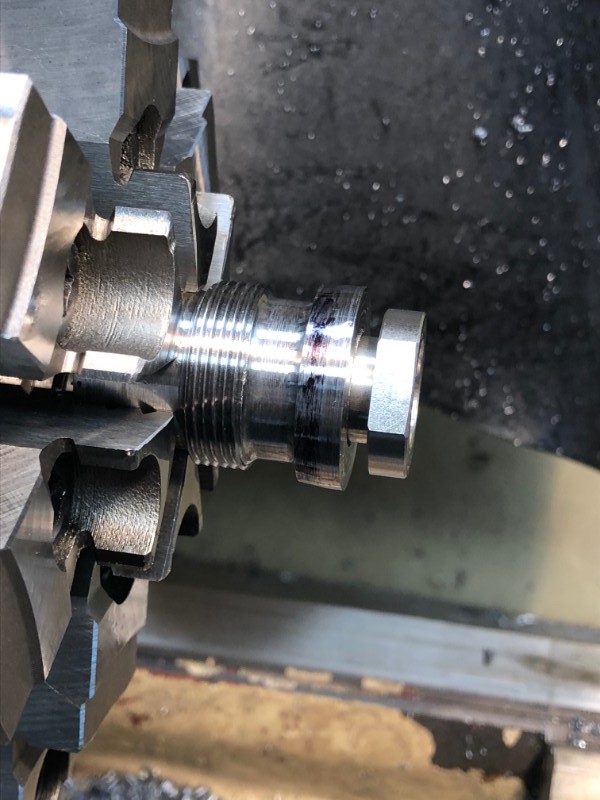
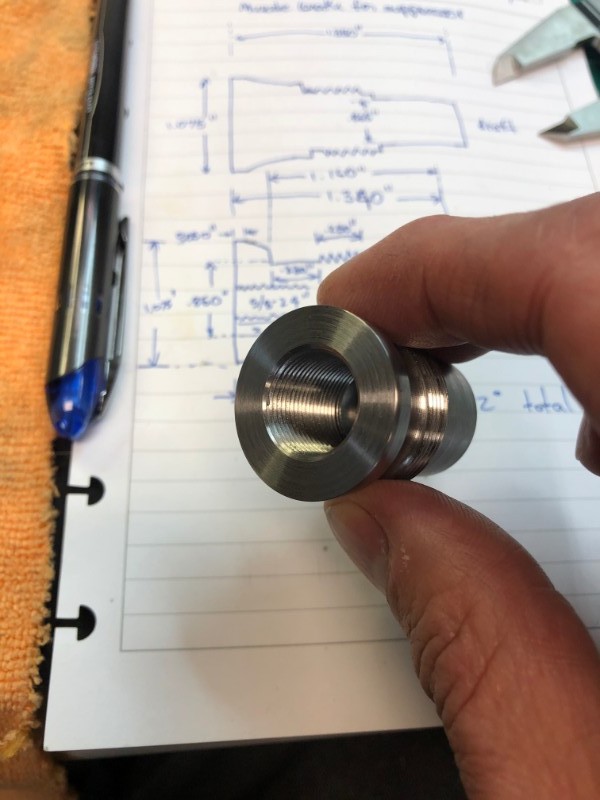
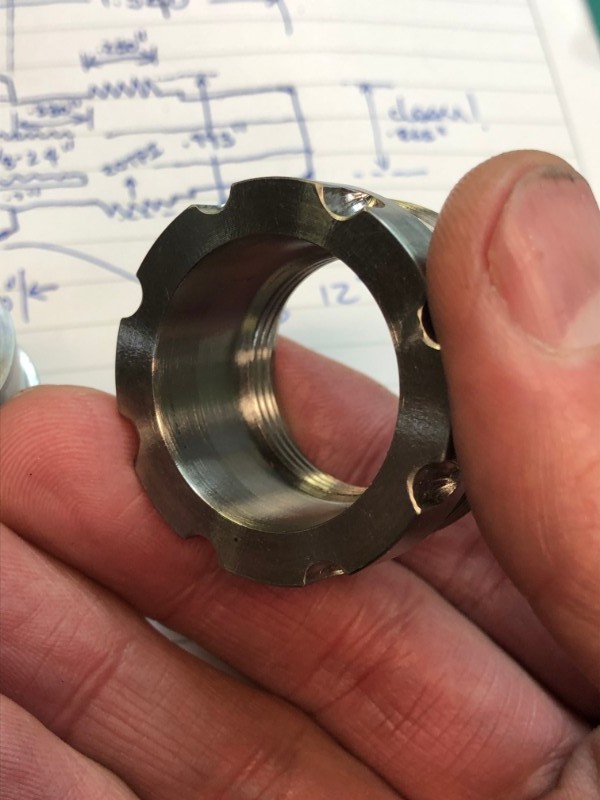
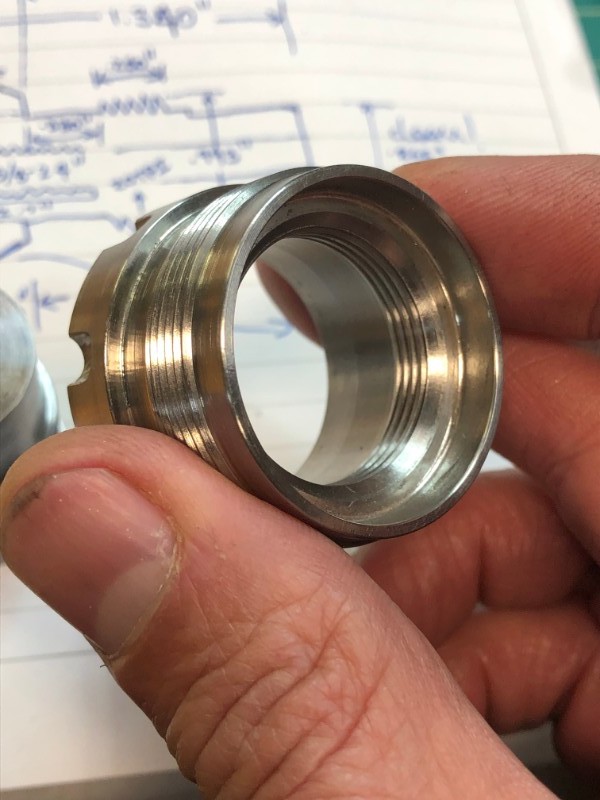
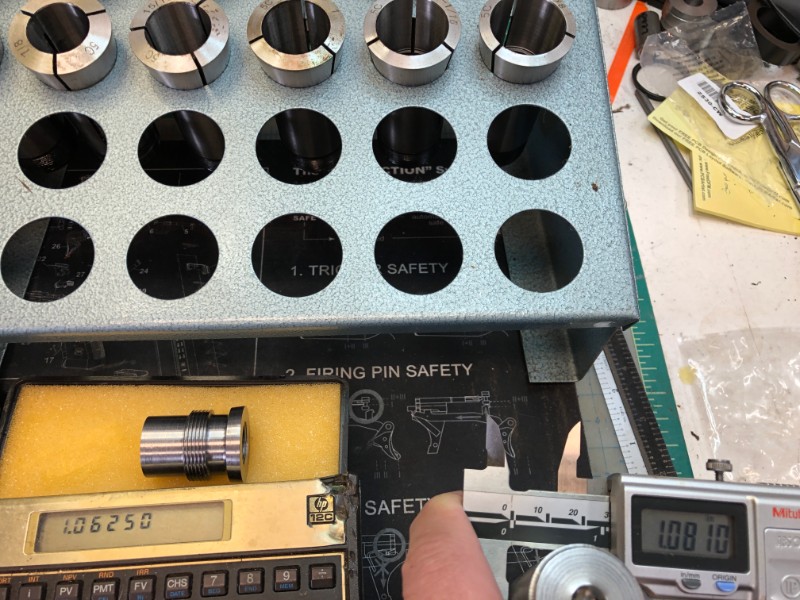
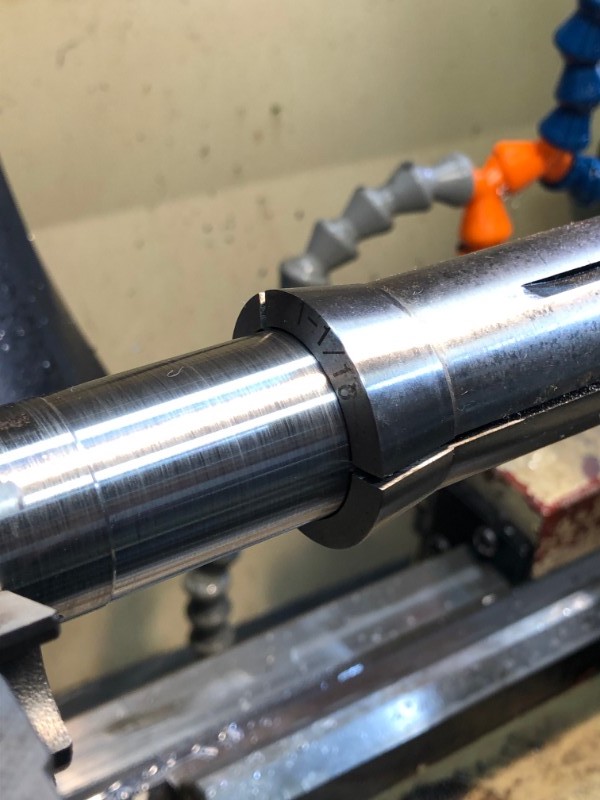
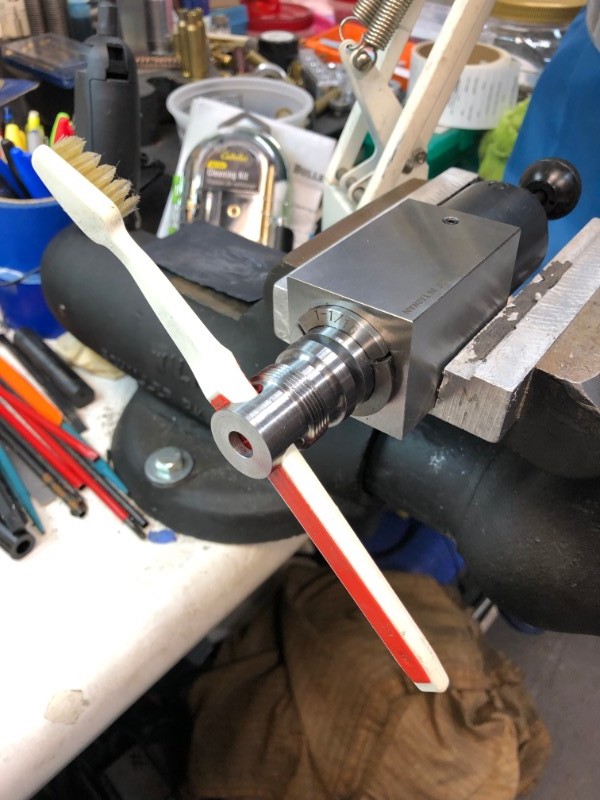
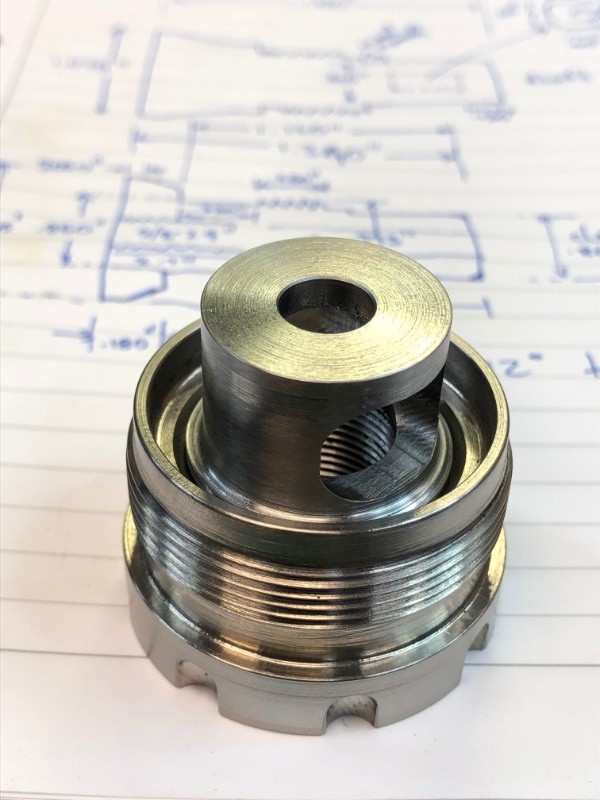
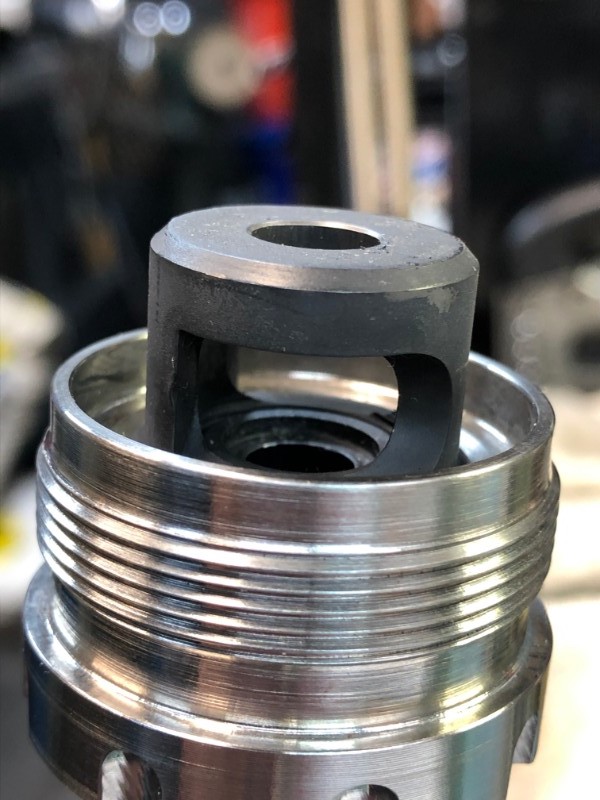
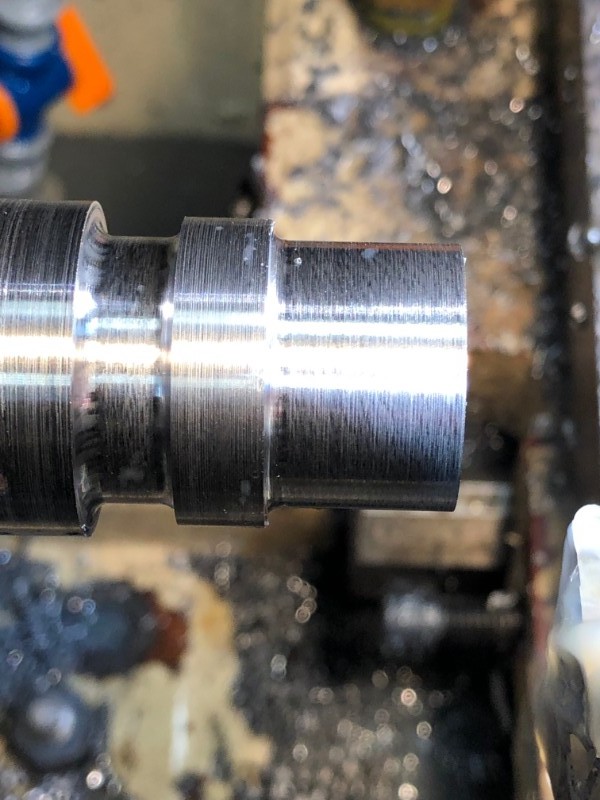
The threaded portion has an OD of 0.933", so I worked on that next:
IMAG0026.jpg


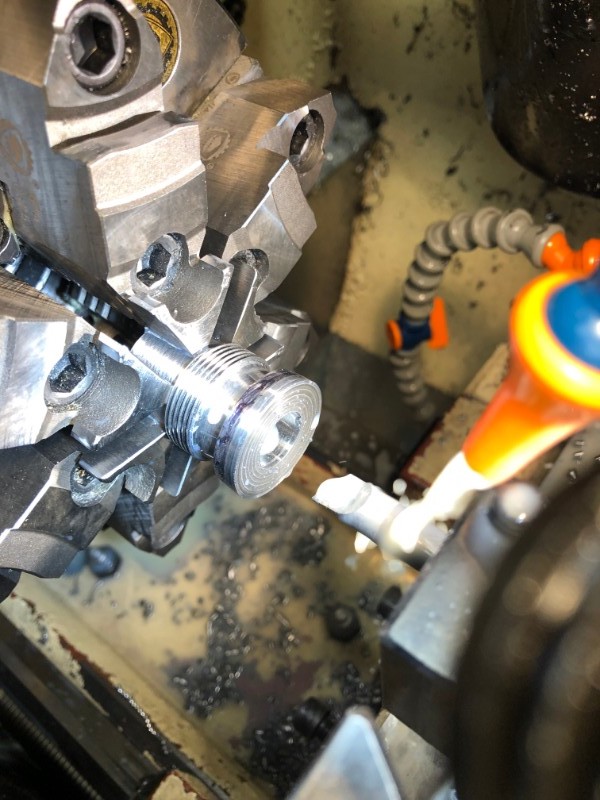
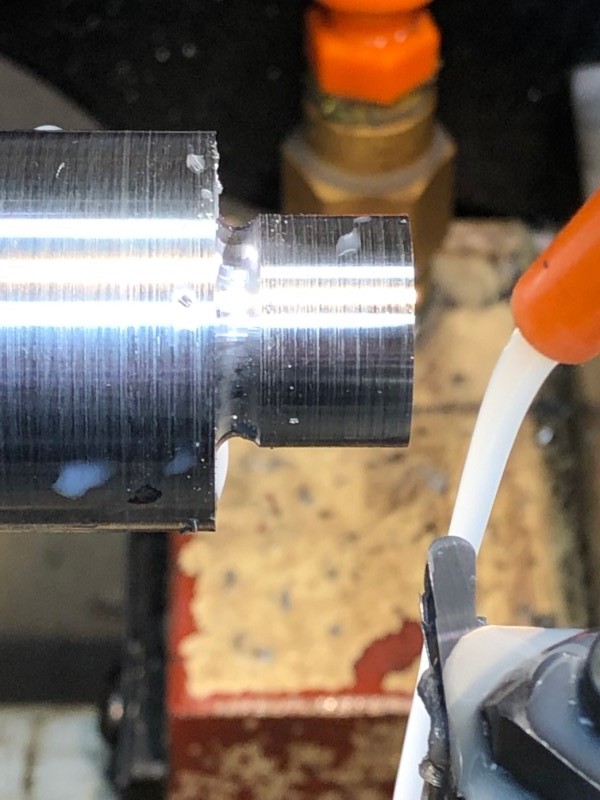
Then worked on the thinner areas before and after the threaded portion:
IMAG0029.jpg
 
Last edited:

wquiles

Well-Known Member
Then threaded at 20tpi:
IMAG0030.jpg


IMAG0031.jpg


Checked the threads with the Titanium suppressor cap (which is designed for the Griffin taper mount):
IMAG0032.jpg


Now to cut the taper. Per the diagram, each side is 6deg (I know the mark is hard to see):
IMAG0033.jpg


These I cut from the "back side" with the lathe running backwards, using a boring bar:
IMAG0034.jpg


IMAG0035.jpg


Perfect fit:
IMAG0037.jpg


Re-align the tool post using the faced part as a guide:
IMAG0039.jpg
 
Last edited:

wquiles

Well-Known Member
Drill the exit hole (30-ish caliber), but drill through the whole piece (about 1.3" or so):
IMAG0040.jpg


IMAG0041.jpg


Part the piece (a little long - trim later):
IMAG0042.jpg


Drill undersized hole for threading 5/8-24:
IMAG0043.jpg


Bore to size:
IMAG0044.jpg


Align and thread:
IMAG0045.jpg


Test threads with barrel adapter:
IMAG0046.jpg


I am pretty much done with the lathe portion for now. Here is the piece so far:
IMAG0047.jpg


IMAG0048.jpg


IMAG0049.jpg
 

wquiles

Well-Known Member
And here is how well it fits inside the Titanium suppressor end cap:
IMAG0050.jpg


IMAG0051.jpg


IMAG0052.jpg


IMAG0053.jpg


Looking back, on top is 1/2 of the "ugly" steel piece, and on the bottom what I have been able to machine so far:
IMAG0055.jpg


I need to do the "brake" work on the milling machine next. Hopefully within the next 1-2 weeks when I get some more time on the "shop".

Will
 

Gary

SE Kansas
Outstanding Will; your work is excellent. One day I aspire to be able to manipulate my Lathe tools as well as you.
 

wquiles

Well-Known Member
OK, finally got the milling machine work today. Since I anticipate making brakes from now on, I decided to create some sort of fixture that I could re-use to do milling operations. I sorta-new I had this 5c collet and nice (Taiwan-made) collet holder somewhere, although I had never used it. Luckily I found it fairly quickly:
IMAG0056.jpg


I decided to use the left-over piece of "scrap" steel to make a "shorty barrel with a threaded 5/8-24 at the end, which will be just the right OD to be held by a 5c collet. The piece was 1.081" OD, which meant that by turning it a little, I could use the 1-1/16" collet (1.0625" target):
IMAG0057.jpg


So after a little work, I had achieve a slip fit:
IMAG0058.jpg


Does not always happen, but got it "exactly" under 1-1/16":
IMAG0059.jpg


For the threaded end, I checked my notes, where I found the appropriate OD target of .619-623" before threading:
IMAG0061.jpg


Since I was going to mill on the end, I gave it a nice chamfer for strength:
IMAG0063.jpg
 

wquiles

Well-Known Member
After the normal threading process, I got a great fit to the unfinished brake:
IMAG0064.jpg


Trim at approx. 2" long:
IMAG0065.jpg


Using my Taiwan 5c collet holder on the stubby "threaded barrel":
IMAG0066.jpg


IMAG0067.jpg


Ready for milling:
IMAG0069.jpg


Center with laser, spot drill, and start milling pocket:
IMAG0071.jpg


IMAG0072.jpg


I made the cavity "approximately" like the factory part by hand, slowly, until it look "about right". Here is the factory part:
IMAG0075.jpg


Used my "super fancy" machining "tool" to separate the brake from the "barrel":
IMAG0077.jpg
 
Last edited:

wquiles

Well-Known Member
Finished brake, Here I scribed notes of what I had done by hand, so that I can try replicate in the future (so I don't have to start from scratch next time):
IMAG0082.jpg


IMAG0083.jpg


This is how it fits in the taper end cap:
IMAG0084.jpg


Which is very similar to the factory unit:
IMAG0087.jpg
 

wquiles

Well-Known Member
Then applied the cold blue to it:
IMAG0090.jpg


And a family photo, showing the "source" material:
IMAG0091.jpg


Since you can buy a finished part for about $90, this is totally nor worth doing DIY. That being said, this was a very fun project, which taught me new things along the way, so for ME it was totally worth it :)

Will
 
Last edited:

Brad

Benevolent Overlord and site owner
Staff member
Nice work.
Those collet blocks sure are nice to have.

Can’t wait to hear how well it all works when fired.
 
F

freebullet

Guest
Excellent! The pix, descrips, all of it, wonderful.

Have you done anything in stainless?
 

Ian

Notorious member
Amazing. Elegant solution to the problem of re-fixturing while keeping the internal/external threads colinear. Did you say laser spot drill? What is this, the 22nd century? :eek:
 

wquiles

Well-Known Member
Thank you guys :)

Yes, on the lathe I have worked with leaded steel, mild steel, stainless, Titanium, Aluminum, and Delrin. Titanium is the most pain in the butt, although stainless is not "fun", even if you have the proper inserts for them. After working so much with Aluminum, mostly 6061, I have come to despise it because of BUE. It is a pain to remove that stuff from the inserts. Better now that I run flood coolant, but not my favorite material to work with on the lathe.

For a couple of years I was making and selling custom one of a kind Titanium handles for DE shavers (the 3-piece kind), and it meant drilling, threading, turning, and cut knurling Titanium grade 6. You can see my posts here (wquiles) in this thread:
https://www.badgerandblade.com/forum/threads/hobbyist-de-razor-showcase.345457/

I also made a few Ti handles for shaving brushes those were more expensive to make and few wanted to pay for the work, so I stopped:
https://www.badgerandblade.com/forum/threads/brush-hobbyists-display-cabinet.341133/

It was while working on these Ti handles that I finally converted the lathe to exclusively flood cooling - it was the only way I could do the cut knurling work with Ti, which then made the rest of the Ti operations even better/smoother:
20140222_151901.jpg
20140222_160448.jpg


On the other extreme, working with leaded steel is a dream. Delrin is wonderful "if" the inserts are new/sharp - then it is also amazing to work with.

Will
 
Last edited:
F

freebullet

Guest
Beautiful work. Thanks for the links, will check them out after dinner.
 

Ian

Notorious member
If saving money was the only inspiration this would be a very dull and expensive hobby. I still buy things I can make or modify to save time sometimes, other times I make things just because I can. Duplicating a precision, interchangeable, production part with manual machinery is a great way to hone skills and achieving that is a reward in and of itself.