
L1A1Rocker
Active Member
I took a lot of pics while making my QA/QD muzzle brake but never posted it. Thought I'd go ahead and post it up. This is the brake Ian helped (did) do the parkerizing on that I posted about earlier.
Please forgive some of the perspective angles of the pics. Some of these were done for my benefit so I would know in the future how to reproduce things. (my memory is not what it used to be. I think it may be medication related too)
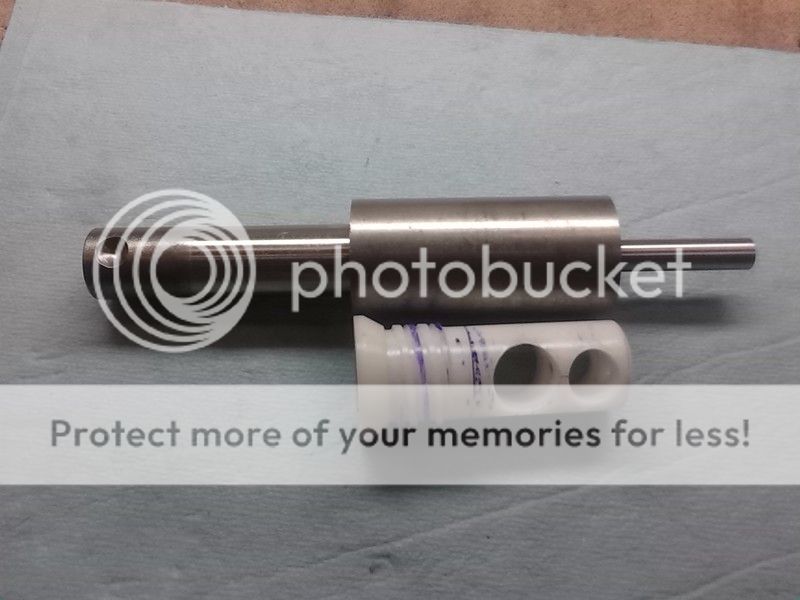
The first step was to make a mandrel, sorry no pics of that. The next step was to do a model out of delrin.
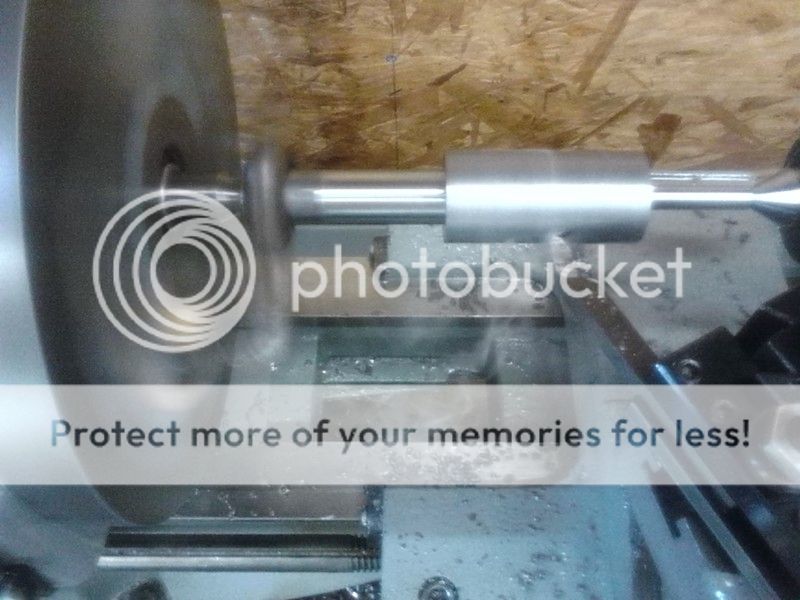
Here I'm cutting the 60* shoulder on the plastic.
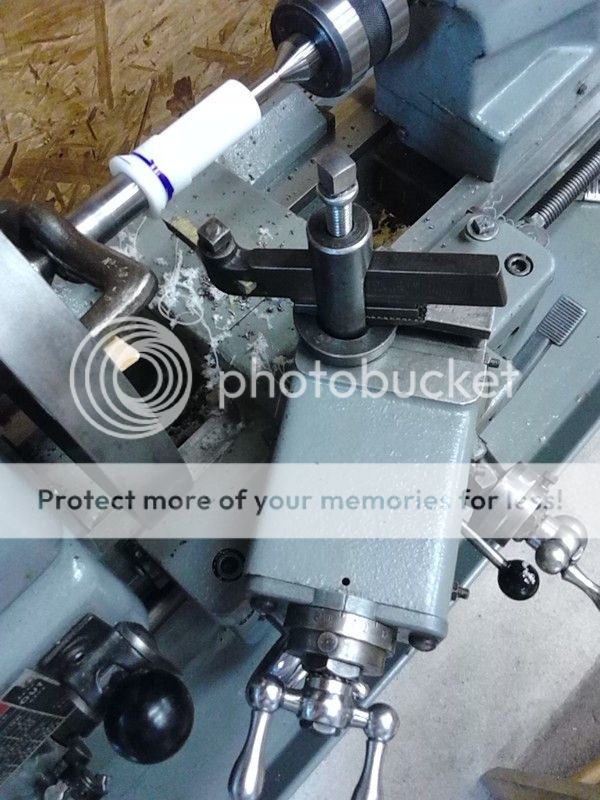
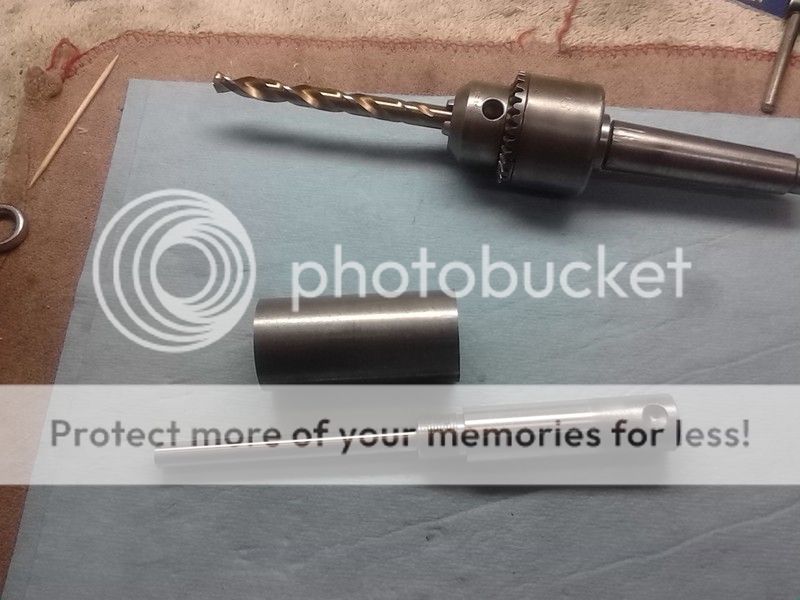
Ok, on to the metal. The first thing to do was to bore a hole through the center and thread it for the muzzle. I start out single point cutting with boring bar and threading tool.
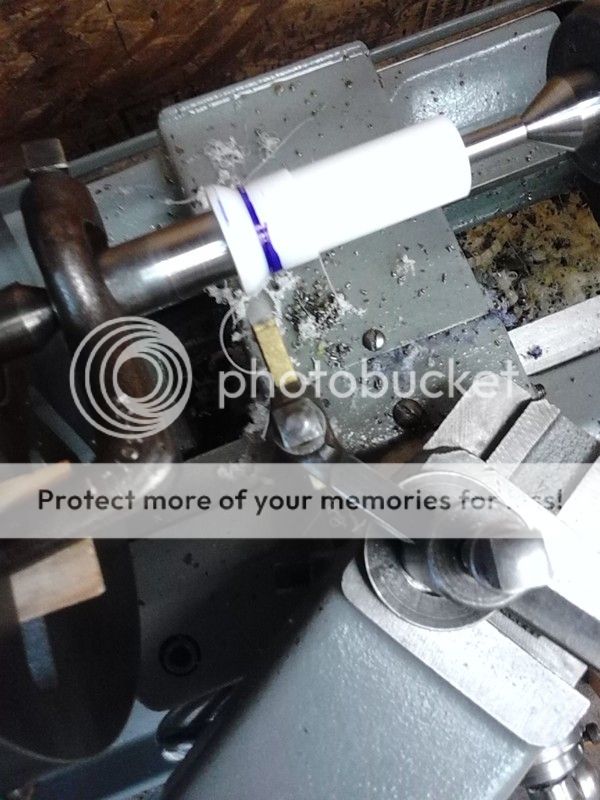
Then I cheat. I use a tap to finish it out. This tap has a 60* hole drilled in the end for a live center to keep everything lined up.
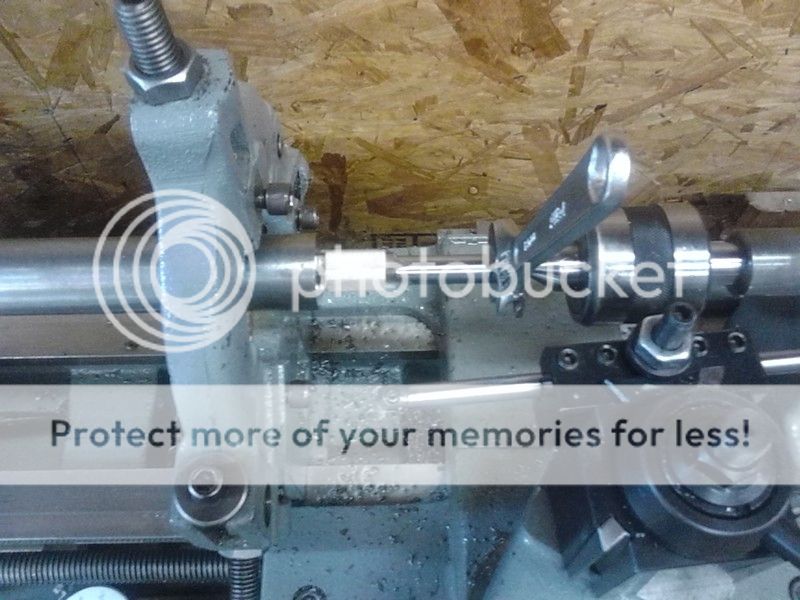
The tape is to let me know where to stop.
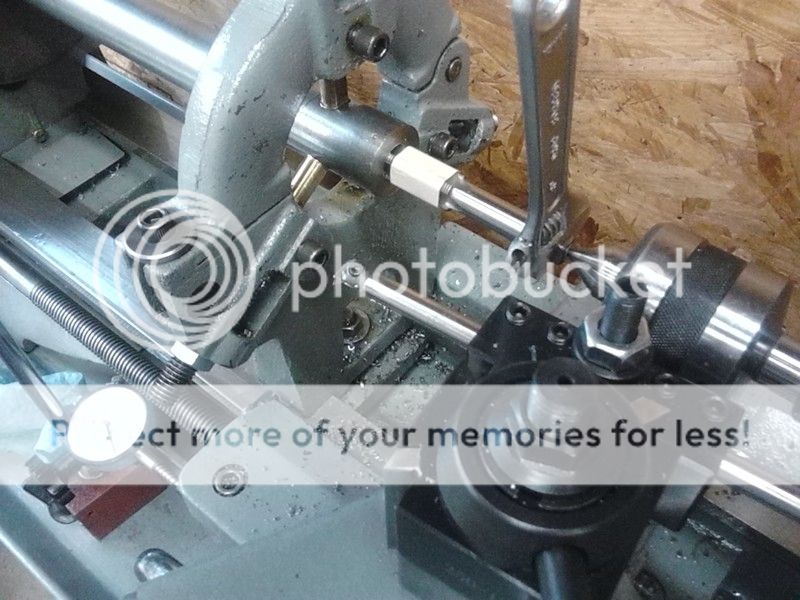

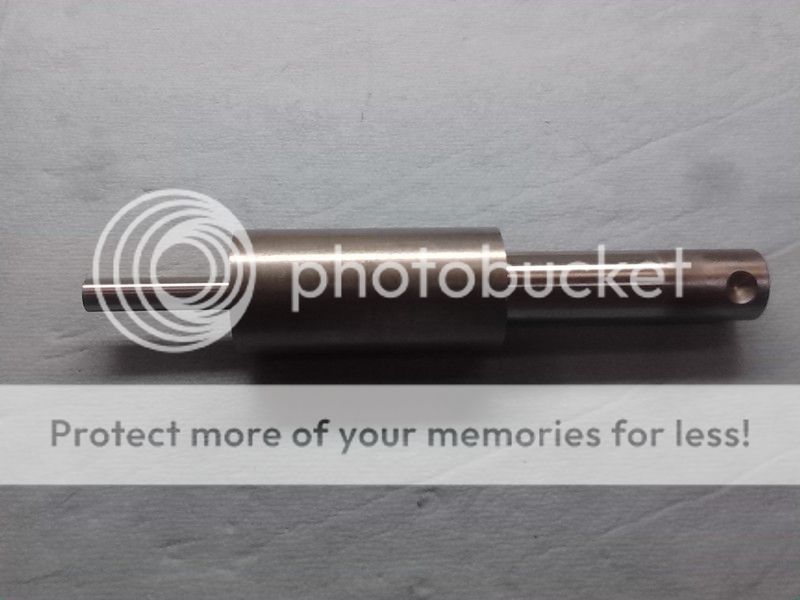
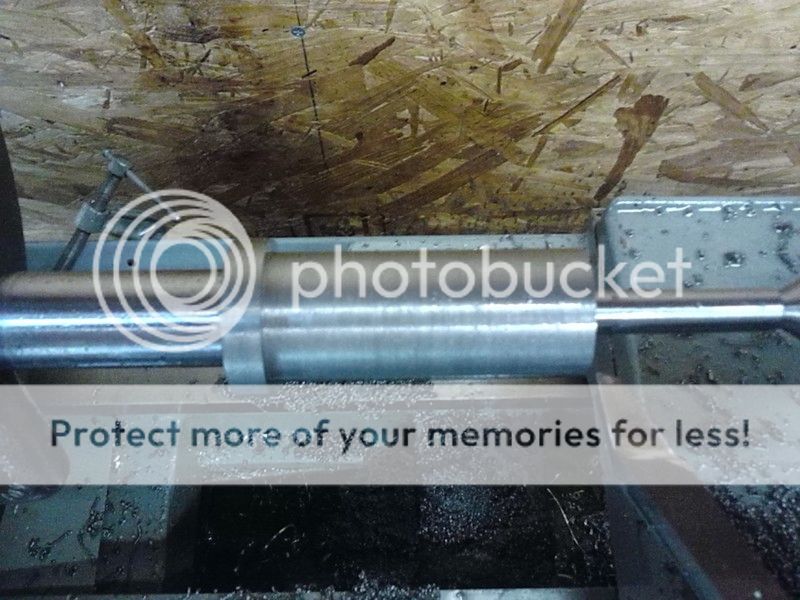
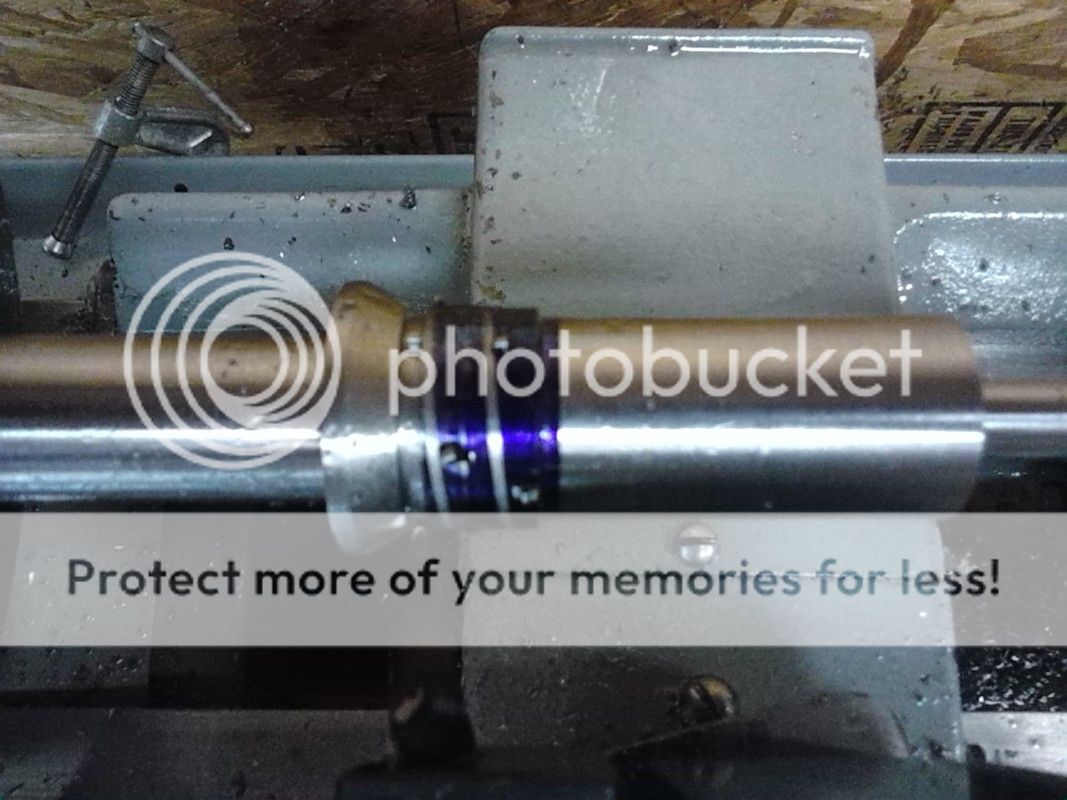
Next step was to chop it off and mount to the mandrel.

Just to make sure I popped it onto a section of barrel to make sure the threads and bore hole were aligned.
Looks good
A sculpture says that his art is always there withing the rock . . . can you see a brake in that hunk of metal?
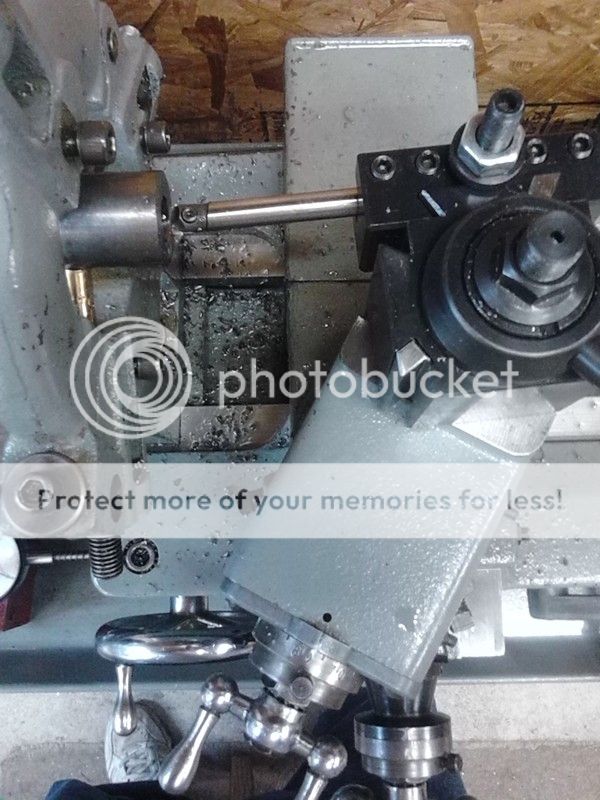
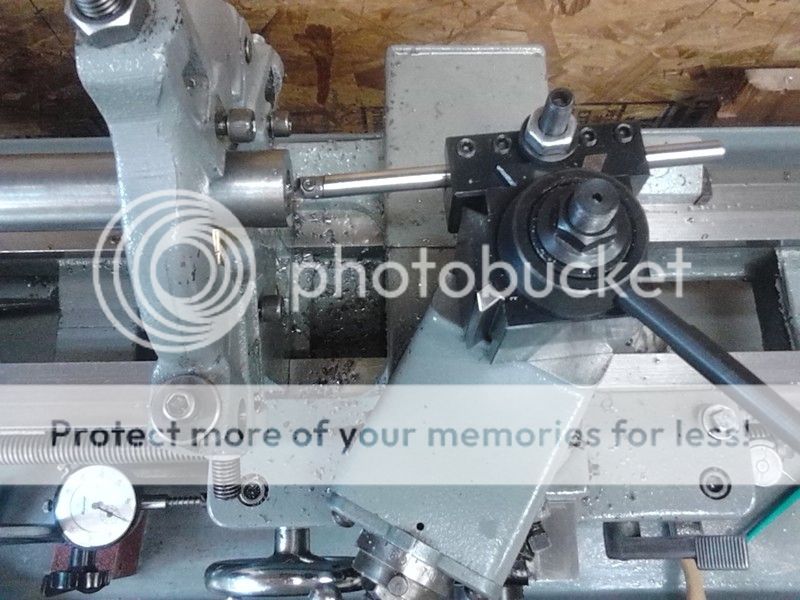
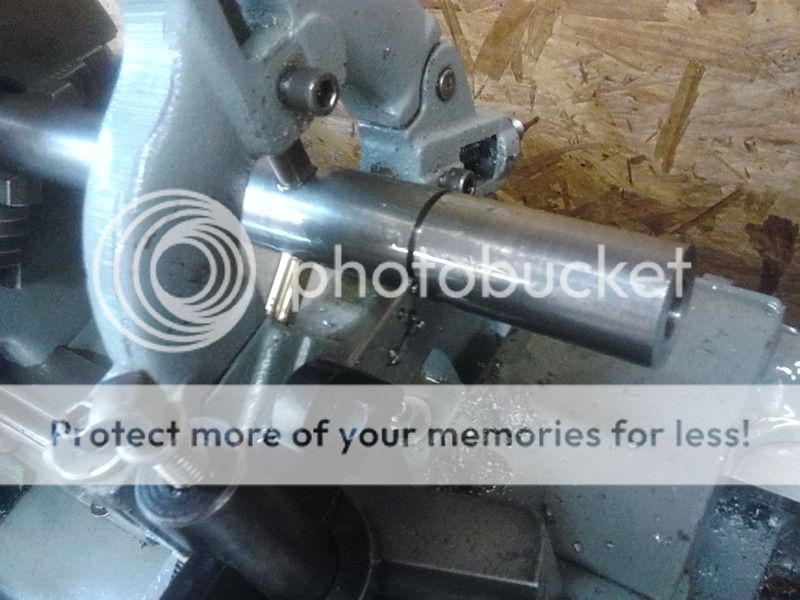
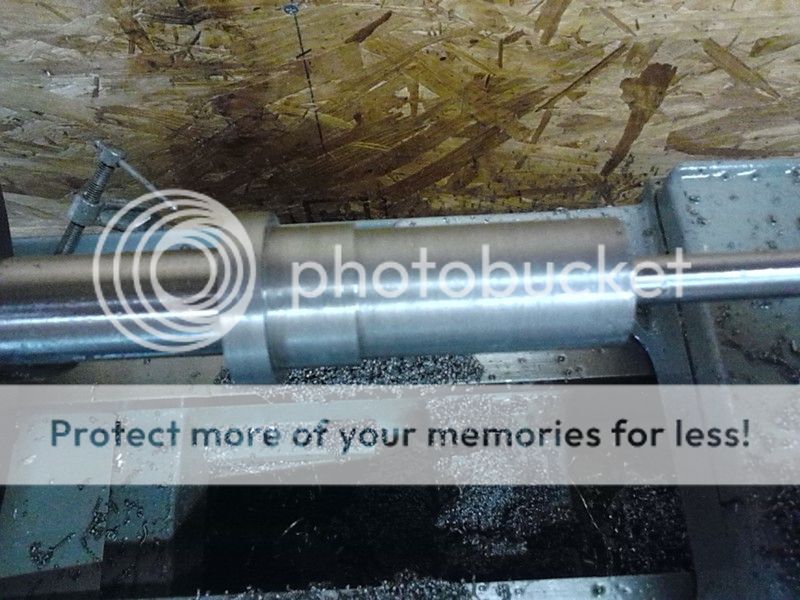
OK, mounted between centers using a lathe dog.
It's a little rough, but taking shape, kinda.
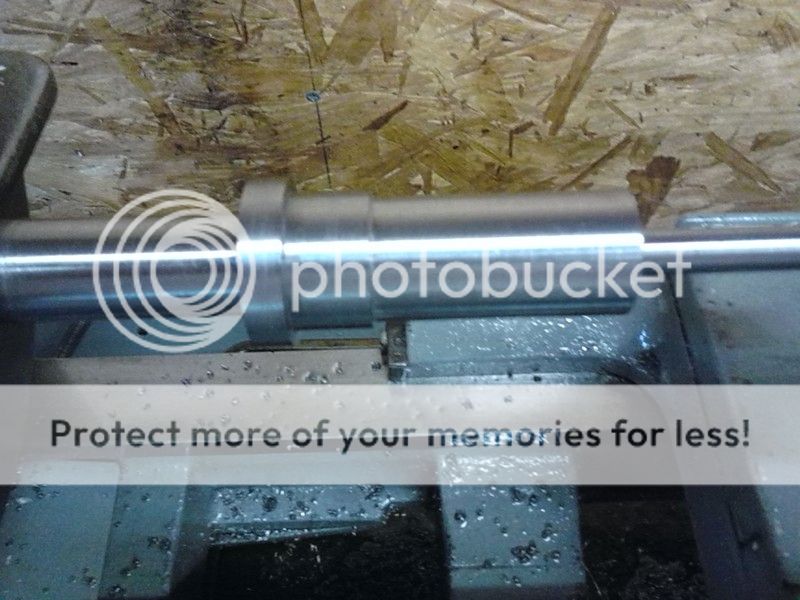
I missed a few pics here, sorry. This pic now has the 60* shoulder done and the thread relief cut. It also has the first pass of the first thread done. Oh yea, these threads are a bit special. It's a two start ACME stub thread Pitch-8 Lead-4. That means that I use a thread cutting tool for 8 TPI, but send the carriage down for cutting 4 TPI. And that looks like this.
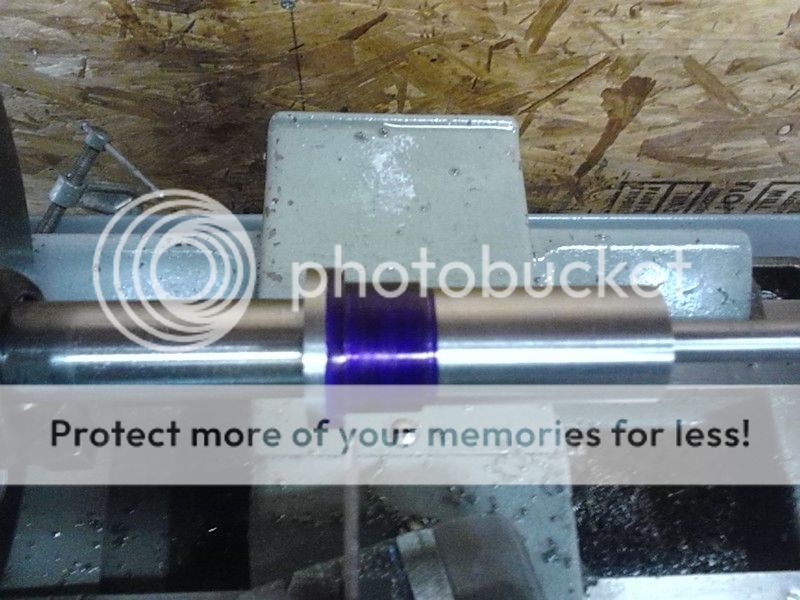
Now I get to cut the other thread that starts 180* opposite the first. I used the thread dial method to do this. The threading dial has 4 marks on it, but there are actually many points you can engage the carriage at. Here's my dial with the correct engagement point penciled in.
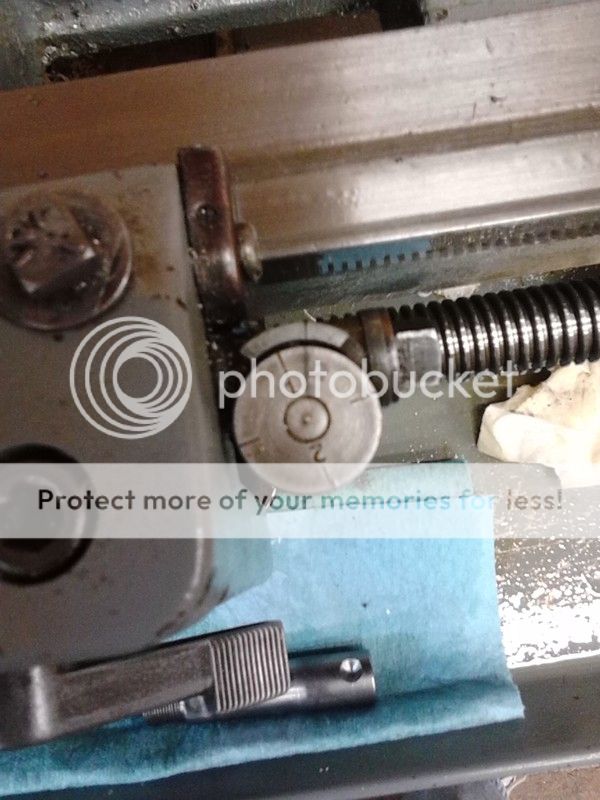
After the next pass. . .
Please forgive some of the perspective angles of the pics. Some of these were done for my benefit so I would know in the future how to reproduce things. (my memory is not what it used to be. I think it may be medication related too)
The first step was to make a mandrel, sorry no pics of that. The next step was to do a model out of delrin.
Here I'm cutting the 60* shoulder on the plastic.


Ok, on to the metal. The first thing to do was to bore a hole through the center and thread it for the muzzle. I start out single point cutting with boring bar and threading tool.


Then I cheat. I use a tap to finish it out. This tap has a 60* hole drilled in the end for a live center to keep everything lined up.

The tape is to let me know where to stop.


Next step was to chop it off and mount to the mandrel.


Just to make sure I popped it onto a section of barrel to make sure the threads and bore hole were aligned.

Looks good


A sculpture says that his art is always there withing the rock . . . can you see a brake in that hunk of metal?

OK, mounted between centers using a lathe dog.

It's a little rough, but taking shape, kinda.


I missed a few pics here, sorry. This pic now has the 60* shoulder done and the thread relief cut. It also has the first pass of the first thread done. Oh yea, these threads are a bit special. It's a two start ACME stub thread Pitch-8 Lead-4. That means that I use a thread cutting tool for 8 TPI, but send the carriage down for cutting 4 TPI. And that looks like this.

Now I get to cut the other thread that starts 180* opposite the first. I used the thread dial method to do this. The threading dial has 4 marks on it, but there are actually many points you can engage the carriage at. Here's my dial with the correct engagement point penciled in.

After the next pass. . .


